How to Renovate a Studio Apartment – Project Cost & Hacks to Save Money
In preparation for getting married, my fiance and I have decided that my tiny bachelor studio apartment would be the best place for us to stay for the next 1-2 years as a newlywed due to its central location.
So I decided to spend some money to renovate the place up. At first, I only wanted to redo the kitchen cabinets, but I ended up doing the entire apartment, except for the flooring and the bathroom.
This article will share my budget, actual expenses, and problems during my renovation project for my 405sqf studio apartment in Kuala Lumpur, Malaysia.
Due to my tiny apartment’s limited space, our design options were quite limited, and we had to work under a lot of design constraints.
Summary: Renovation Cost
- Original budget: RM 15,000 ($3,500)
- Total renovation cost: RM 32,111 ($7,600)
- Total renovation time to complete: 2 months.

| Situation | Original Budget | Actual Cost (MYR) | USD |
| Interior Design Services | RM 15,000 | RM 24,426 | $ 5,777 |
| Stuff Bought Separately | – | RM 6,542 | $ 1,547 |
| Unforeseen Expenses | – | RM 1,143 | $ 270 |
| Total Project Cost | RM 32,111 | $ 7,600 |
The Studio – Before Renovation
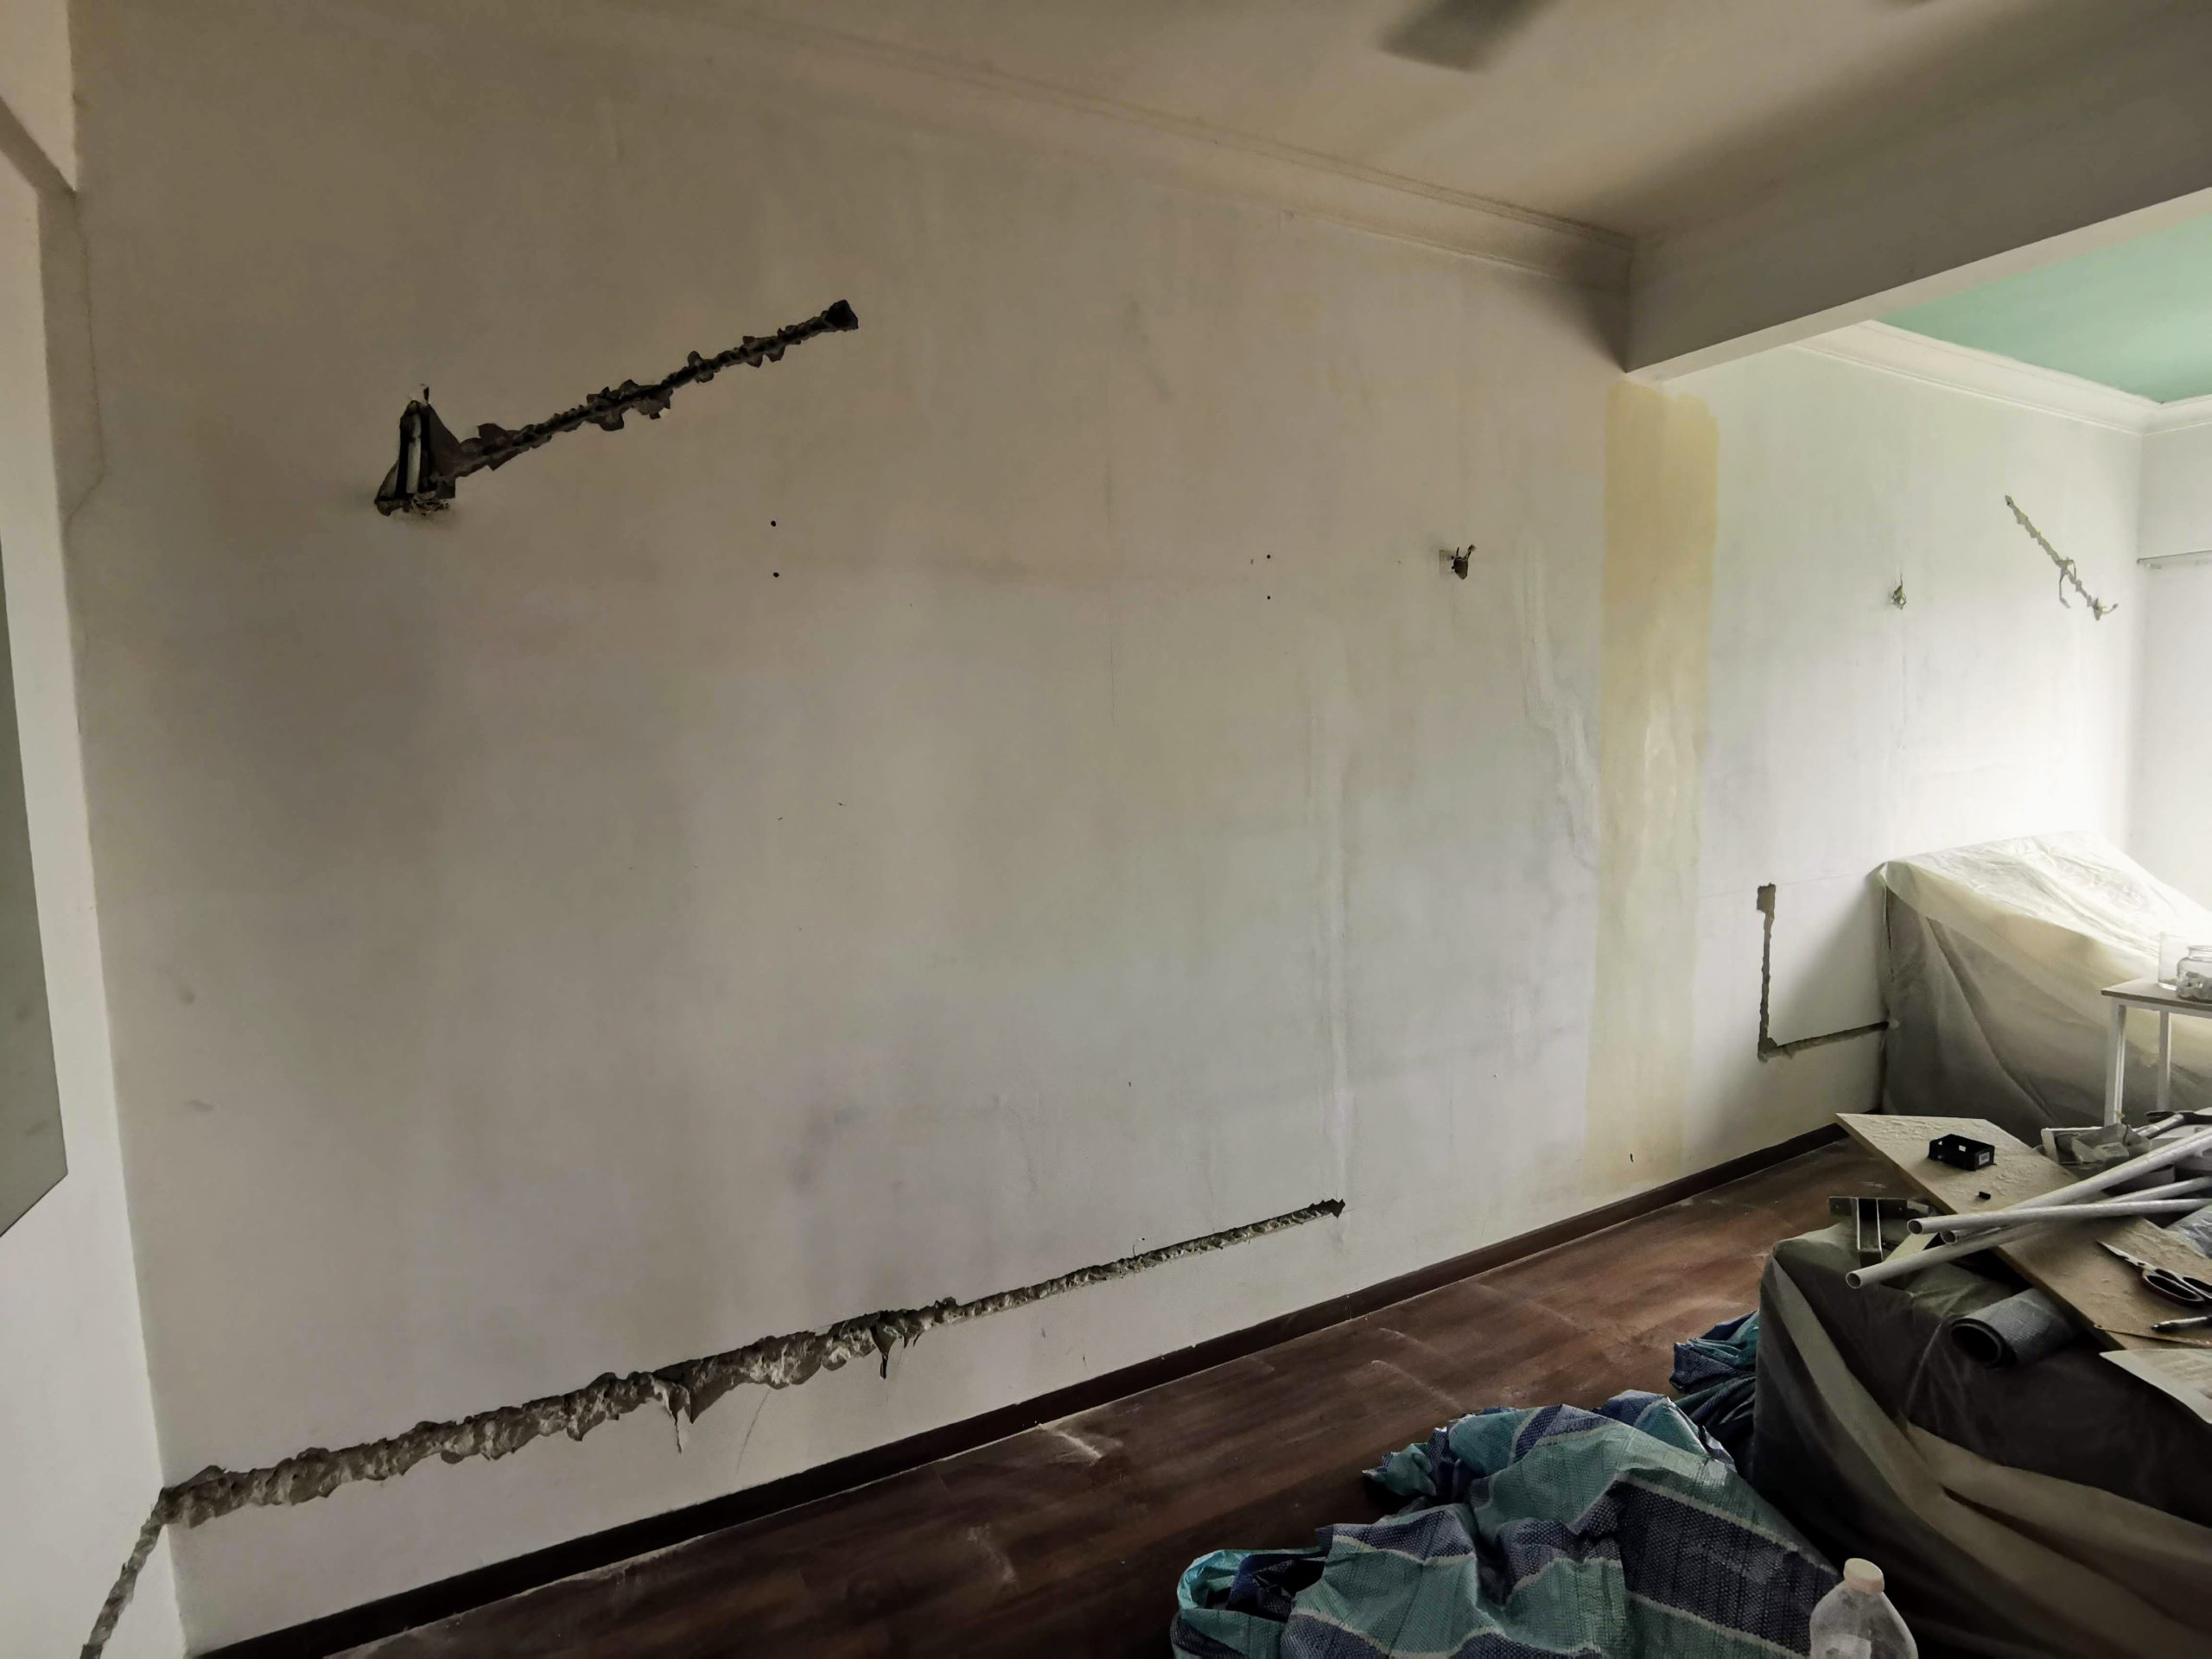
Here’s what my bachelor pad looks like before renovation:


[Step 1]: Get Inspiration Online
Before we hired an Interior Designer, we did some online research and searched for: ‘small kitchen designs‘ on Pinterest and Instagram. Here’s what caught our attention:
KITCHEN CABINET
This design, I found on Pinterest was the closest to what we wanted:
- White, minimalist themed
- Full height cabinets
- Built-in oven
- Contrasting patterned backsplash tiles

KITCHEN BACKSPLASH TILES:
Because the kitchen cabinets are plain white, we wanted to get backsplash tiles that will be the center of attention in the kitchen.
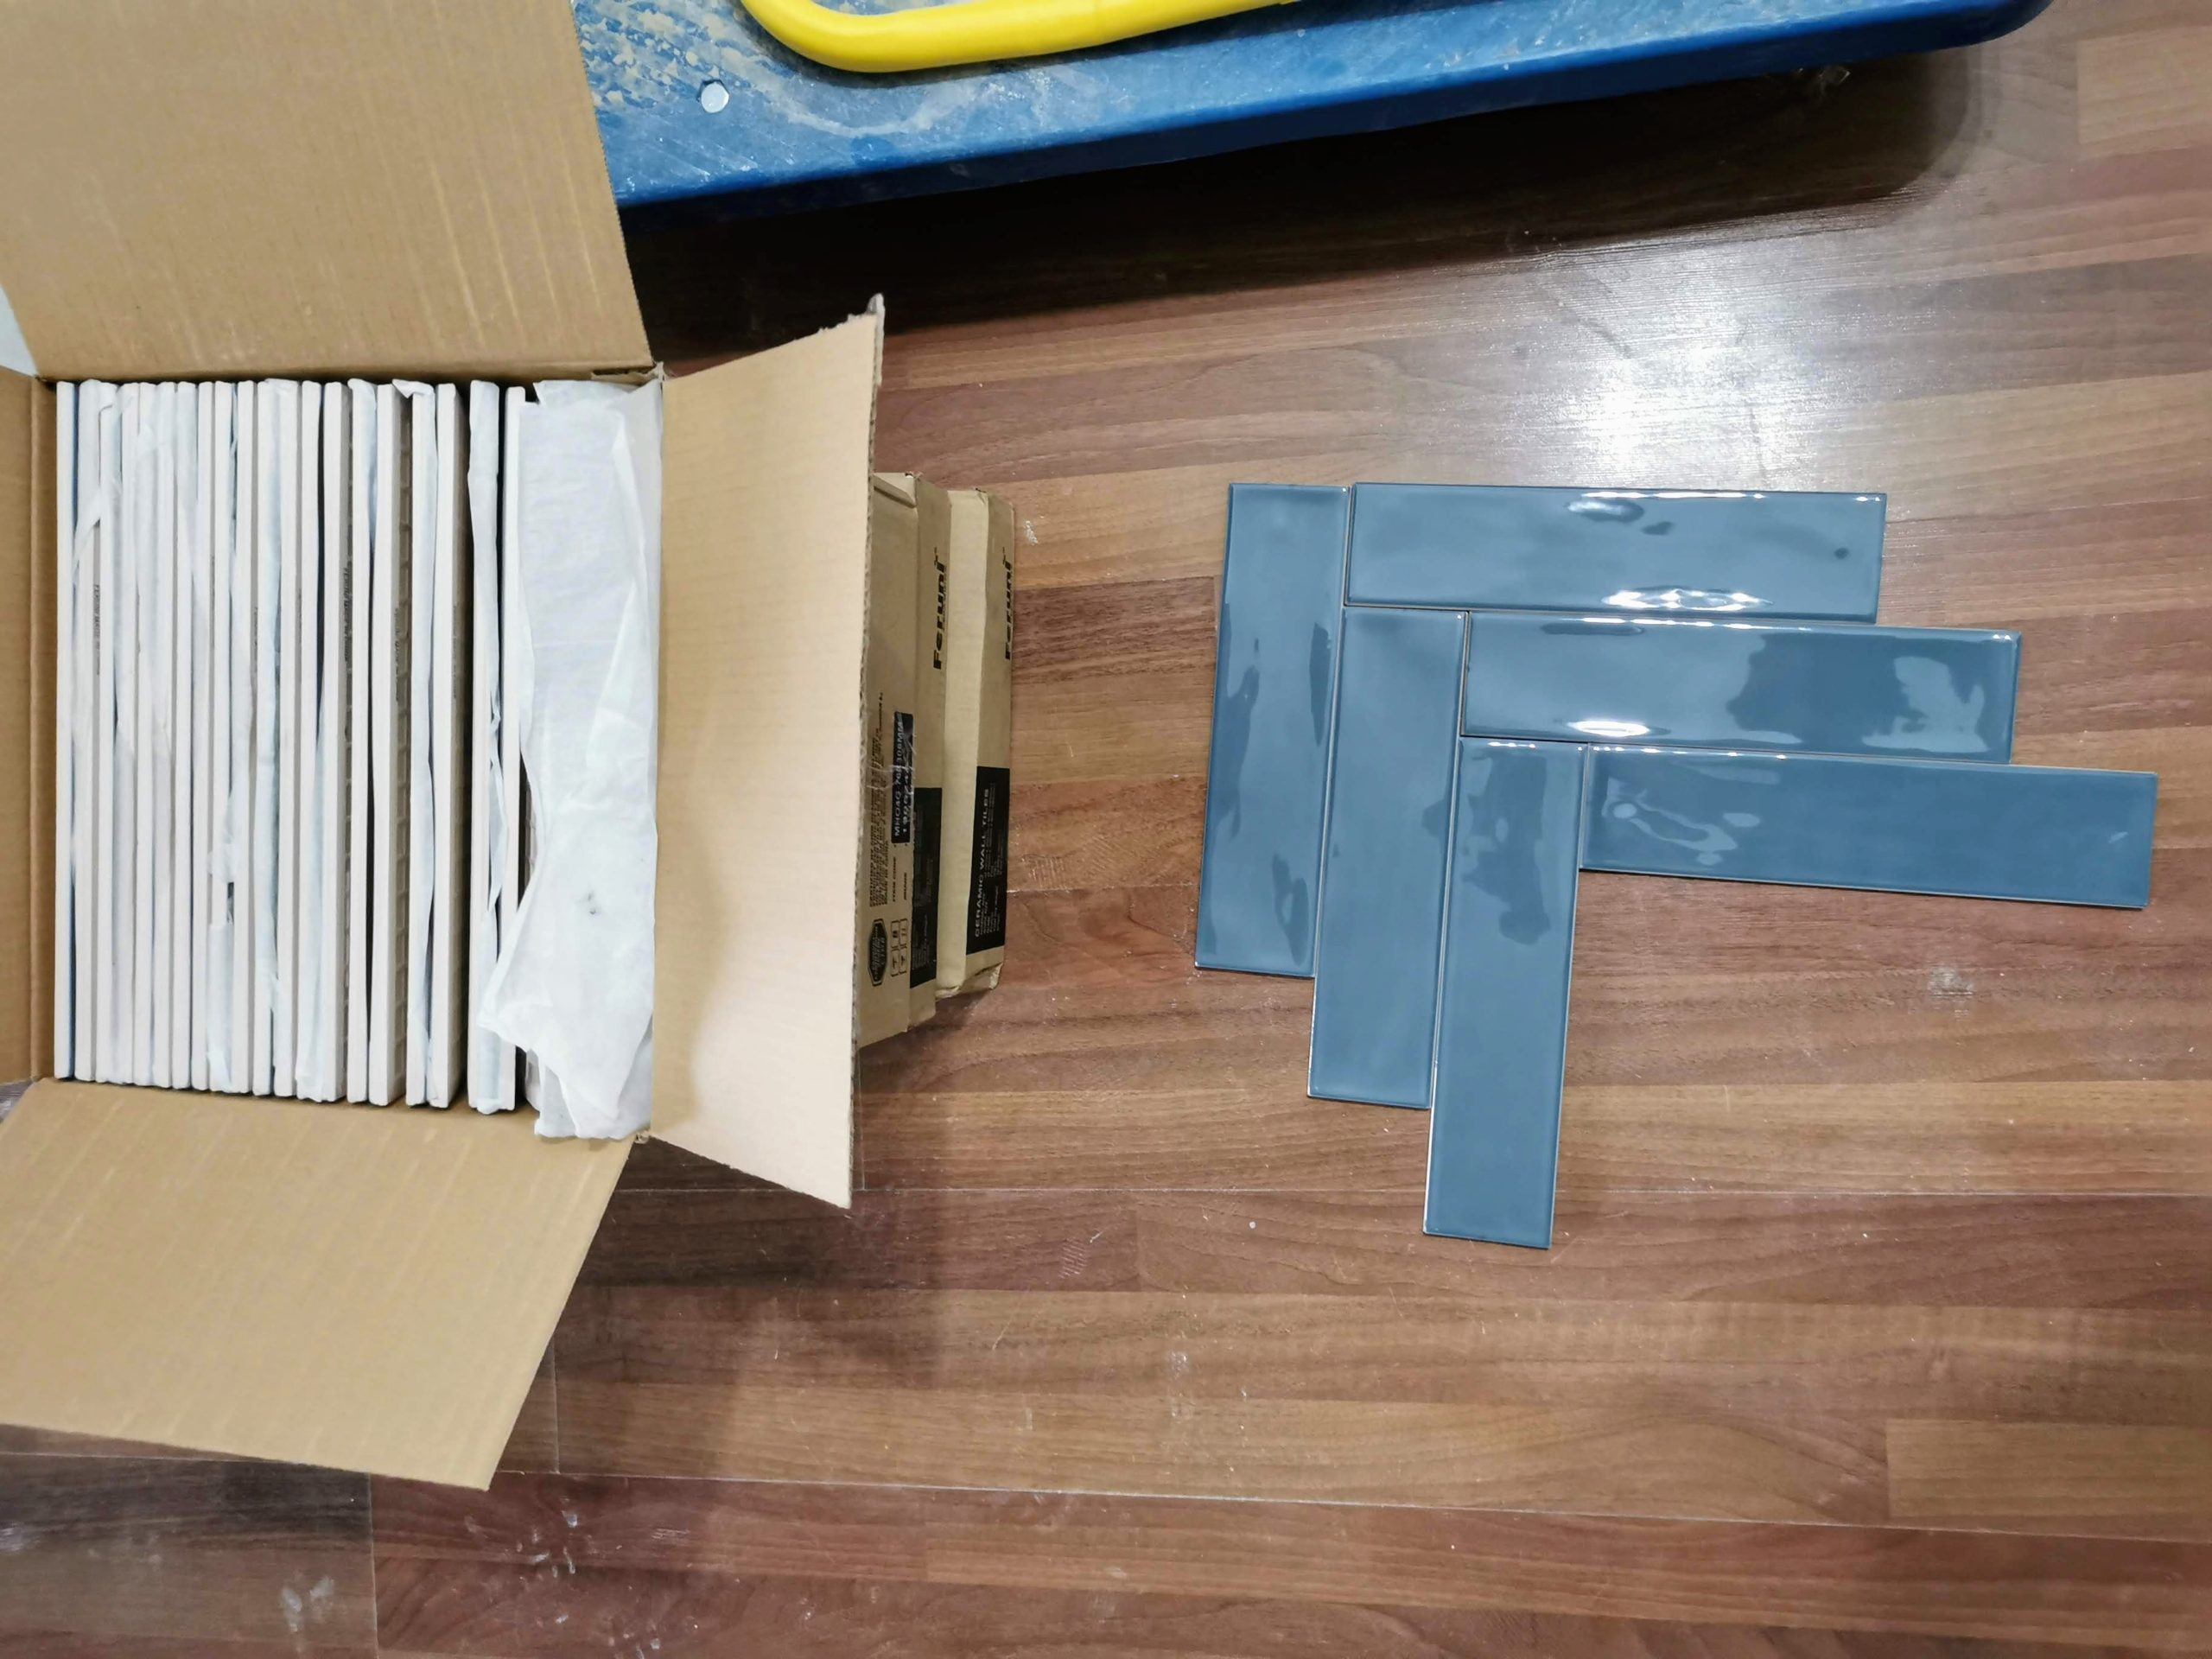
We narrowed it down to teal-colored, herringbone-patterned tiles, just like what we saw here on Instagram.

DINING TABLE:
We don’t want a separate dining table as we have limited space. We found this cool design online:
- Incorporate dining table into kitchen cabinet
- This retractable table is the perfect solution, but it will cost a lot of money.

WARDROBE & STUDY DESK:
- Same material and color to match the kitchen cabinets
- Full height, hidden handles + drawers
- Integrated study area

Now that we knew what we wanted, we showed the Interior Designer these pictures:
[Step 2]: Discuss With Interior Designer
The Interior Designer then proposed several solutions within our budget.
Here’s the first round of designs from a software called SketchUp:
Early 3D Design Proposals – Rejected


There were 3 rounds of back and forth between the interior designer and me, and below is what we ended up with:
Final Design & 3D Render


Alright, the design & 3D render looks bomb. The next order of business, start buying stuff that would save us money:
Stuff I Bought Myself to Save Money


Phew, that’s a lot of stuff! But I’m pretty sure I saved a ton by not letting my contractor or Interior Designer supply them for me.
The next order of business is to apply for renovation permission with my apartment management so wetworks (contractor lingo for hacking & tiling works) to start:
[Step 3]: Wetwork Starts – 1.5 weeks


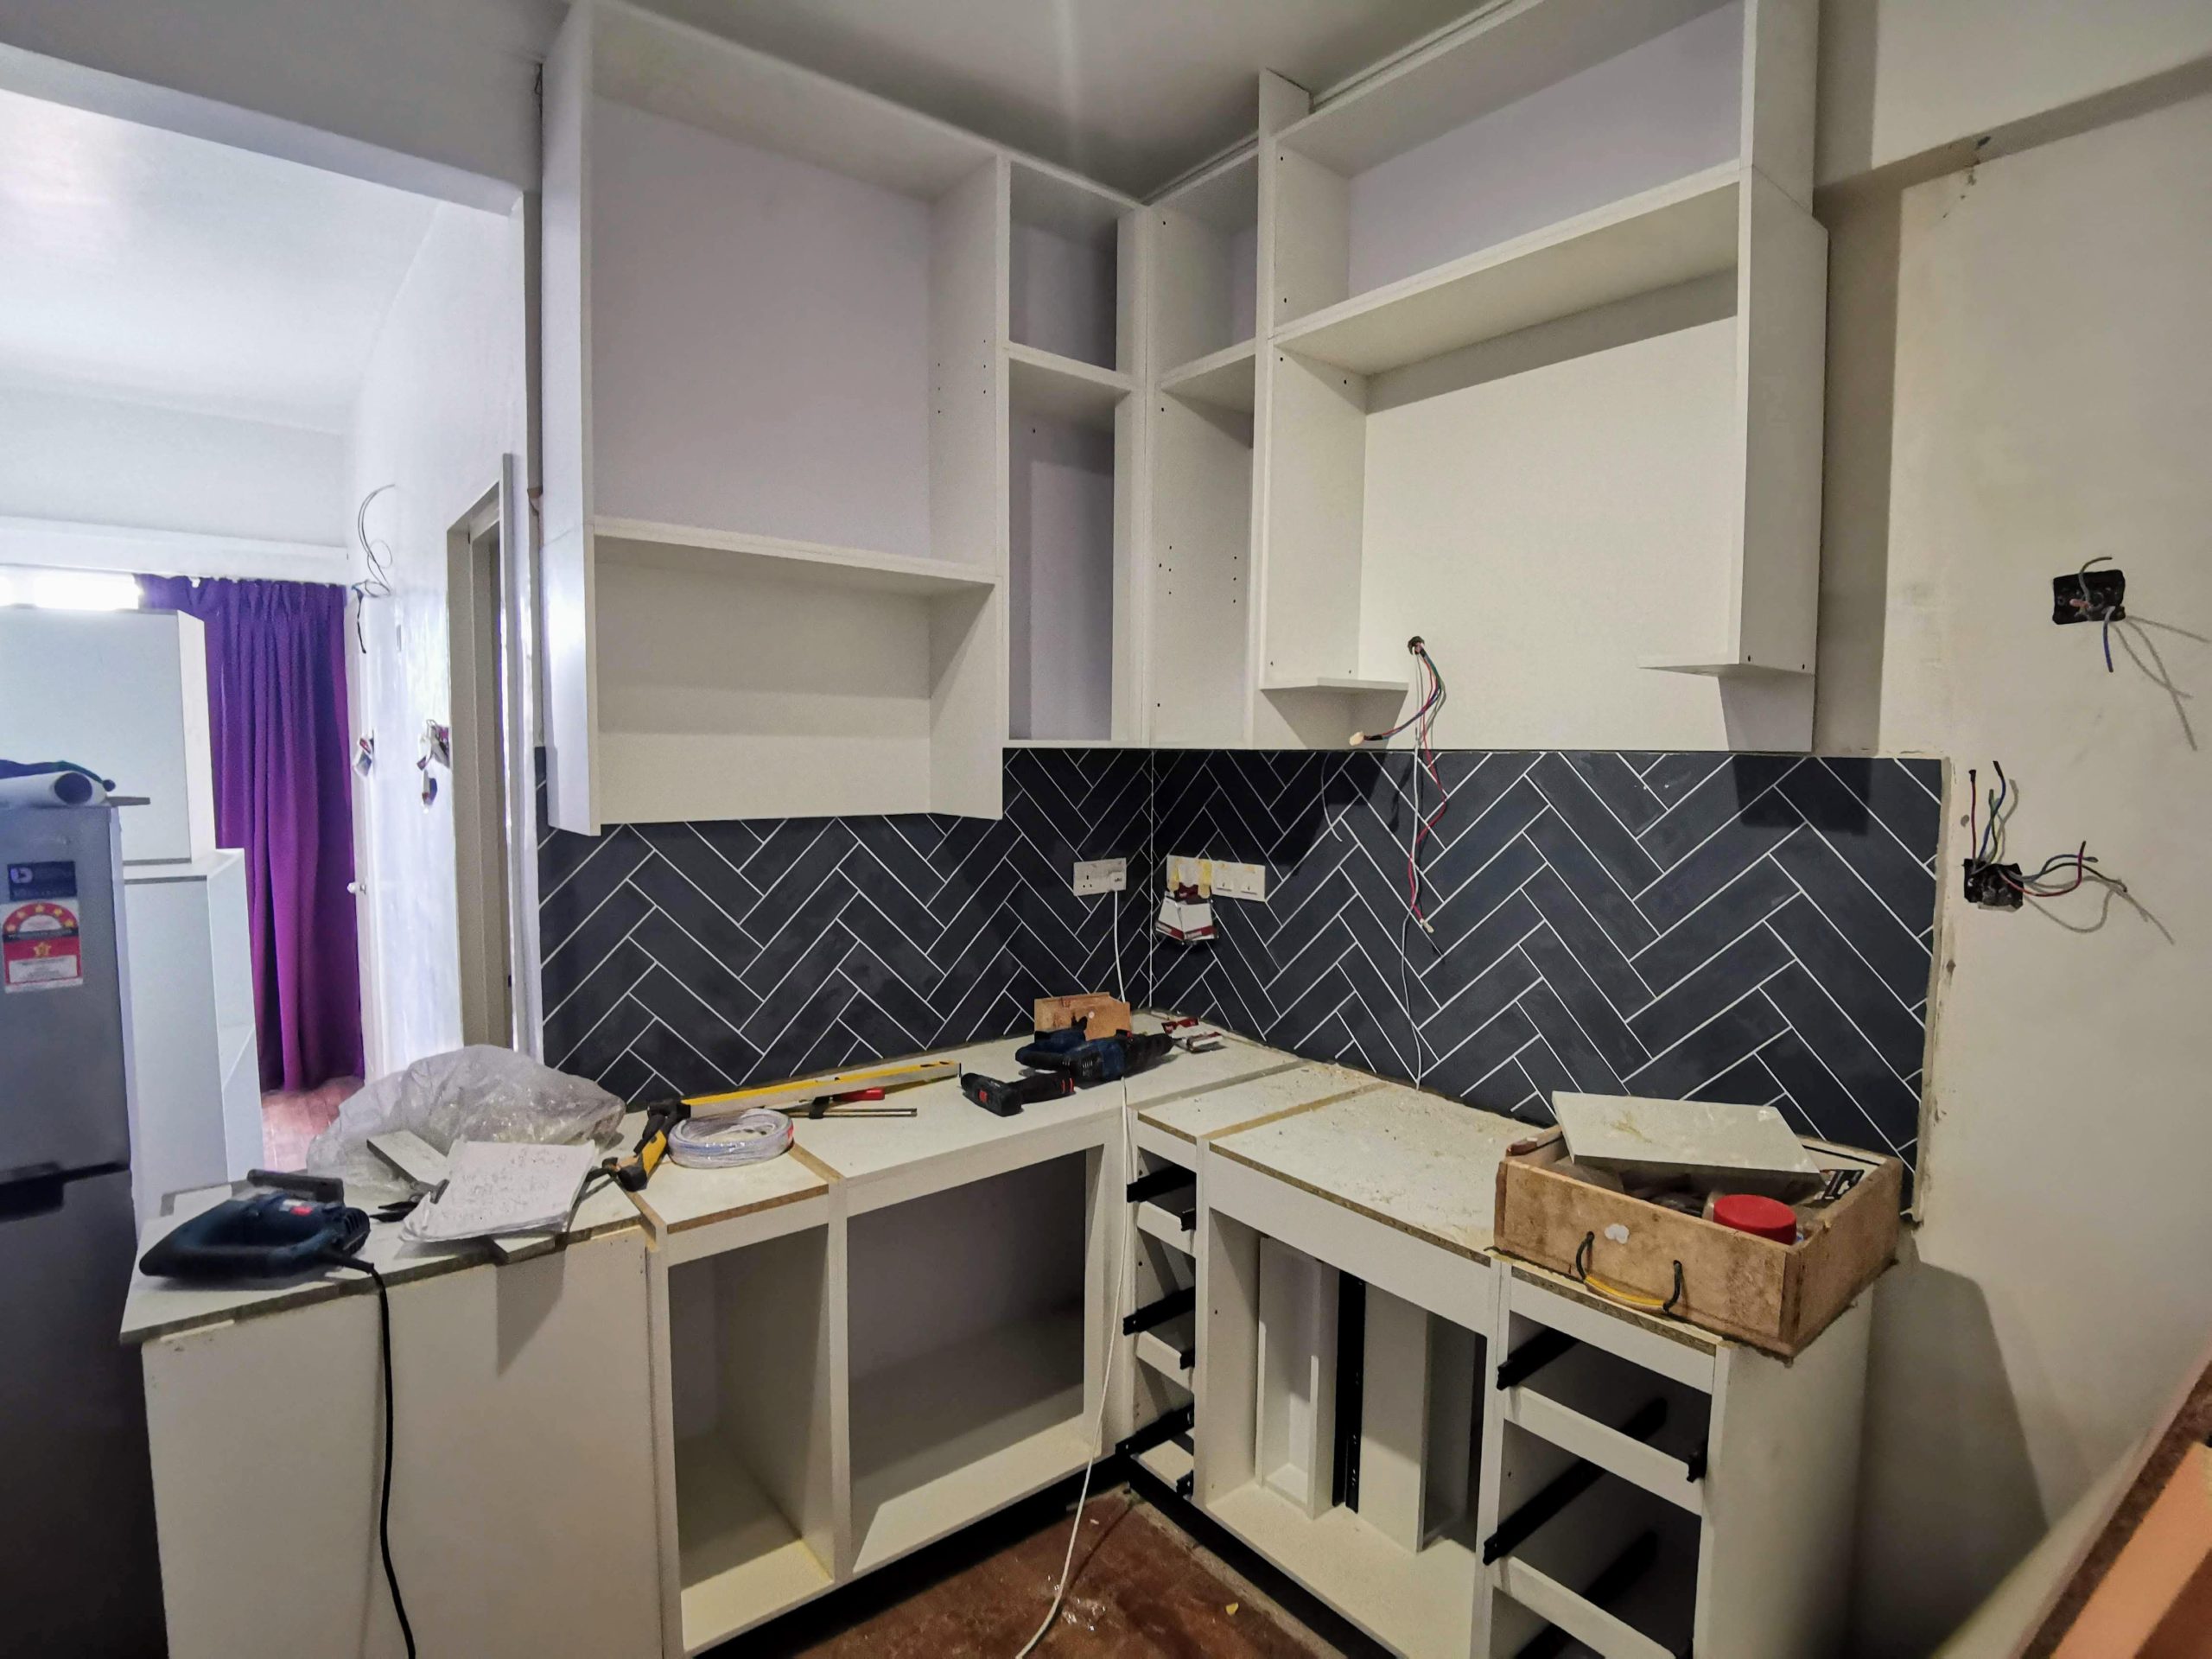
[Problem 1]: Kitchen Backsplash Tiling -3 Days
The most exciting part of the kitchen, the backsplash tiles. But we ran into a problem. The alignment was off, and you can see it here already:

It’s even more obvious once it’s done. I drew the lines so you can see what I’m talking about:

I had to complain to the contractor and used a long ruler to illustrate the alignment shown above. Luckily, he agreed with me and the next day took the tiles off (without damaging them apparently) and retiled the kitchen backsplash:

The next day, I came over to take a look. He corrected the misalignment and inserted the grout filler. I am delighted with the result:

Nice! Now that all the ‘wetworks‘ are done, I had a special project coming next, soundproofing my wall:
[Special Project]: Soundproofing Wall – 2 Days
I’ve installed soundproofing windows that dampens the LRT noises, but with thin walls, I can hear my neighbor’s pipes if they take a shower or flush their toilet.
Usually, this isn’t a problem. But since I work from home, this is a no go. I chatted with one of my neighbors and got a hold of these wall soundproofing guys.
They installed a 3 inch thick gypsum board wall that is sandwiching a soundproofing fibre called rockwool:

Below is what the rockwool fiber material and the finished wall looks like:

No more water flowing noises for me. The next order of business, painting:
[Problem 2]: Painting – You Get What You Paid For
Alright, the paint job was the biggest let down in this entire project. Our painting requirement was not as straightforward as we initially thought. There are cracks, and some parts of the wall are uneven.
We asked around and got quotation for RM 1,700, RM 2,500 & RM 3,000. Being naïve, cheap Millennials, we picked the cheapest guy. Little did we knew that he screwed us over real good.
Let me explain what we needed (but didn’t know at the time):
- Fix the wall cracks
- Apply plaster to the entire uneven wall and skim it to make it even
- Let the plaster dry and sand it smooth to blend in with the existing wall
- Only then paint
The guy that we hired was incredibly incompetent. He used to paint the outside of houses. But apparently, indoor painting is not his forte. He had two other guys that, as I see it, are not painters at all. I think they are just random guys he picked from the neighborhood.

But later, they applied the plaster but did not skim and sand it down. So obviously, the walls become uneven, and I can see the joints where the soundproofing walls are:

When I complained, he dared to say that my walls are messed up, to begin with, etc. After 2 days of constant butting heads & the general tiredness of this entire project, I was just exhausted, paid him, and wished never to see him again.
I didn’t have the budget to hire someone else to fix this, so after a few YouTube videos and a trip to the hardware store, I DIY’ed it myself:

The wall turned out OK, but with all the hassle, I’d hire a pro to fix it if I had the budget. OK, wall paint fixed (sort of), but there’s one more problem:
Bad Paint Job on Front Door: Remember that my front door was blue? They had to apply several layers of paint to turn that blue into this offwhite, but they were too lazy to sand the door down first, so the paint didn’t stick properly, and it dripped overnight:

My fiance & I tried to fix the door ourselves by scraping the paint off, but it turned out to be way more labor-intensive than we thought, and we gave up. We hired our current contractor to fix the door for us:

The bad paint job on the door, fixed! Now I had to wait for the factory to manufacture the cabinets due to backorders.
[Step 4]: Installing Cabinets
After waiting for about two weeks, the factory was finally able to deliver my cabinets.


[Step 5]: Installing Quartz Counter Top – 1 Day
The longest wait is for the quartz counter top. They had to wait until the kitchen cabinets are installed before they can take proper real world measurements.
Plus, with the 2nd Malaysian lockdown, I had to wait for 2 more weeks.

These pros installed everything in about an hour. Absolute meticulous work. I am very happy.
[Step 6]: Final Touch-Ups
On the last day, there were final touch-ups for:
- Install kitchen tap
- paint touch-ups
- Secure in the built-in oven
- TV cabinet wiring
- Install smart lock


I bought a Novalock smartlock on Shopee that includes installation.
Pro-Tip: Don’t try to install these yourself. It’s quite complicated

Final Result – 3D render Vs. Reality
Finally, here is the final result. The only thing missing is the living room TV that we will get later in a few months:


What a long post! Overall:
- I am happy to spend the money
- Renovation costs me around RM30,000 for everything, double the original budget
- Project took me 2 months, during which, I had to stay at my parents
- Shop around for contractors and never get the cheapest guy
- If you’re not a DIY type of guy, never attempt to DIY anything, you’re only going to screw it up and it’ll cost you more to fix it.


![[Is It Worth It?]: If-Only Fusion Cafe Restaurant, Ampang](https://helmihasan.com/wp-content/uploads/2020/10/Is-it-worth-it_-768x512.png)
Oh I loveeeee the final result!
Thank you figureringgit out 🙂
Home sweet home, after all the hard work
Wowwww..may in know which interior designer and contractor you engaged with?
Amazing project, amazing results, amazing blog post..
Thanks Anh Tu!
thank you so much for this 😉
Hey, I hope you’ll see this comment. I think your renovation is amazing and at a reasonable cost too. I’m planning to renovate my own space and I would really appreciate if you can share the details of your interior designer for me to contact. Thanks in advance!
Bro can you share the contractor doing the soundproofing on your wall?
Thanks!
Super helpful, thanks so much!